Post Feeds Hi dear reader. In the current modern era, all information regarding the progression of technologies is incredibly easy to receive. You can get

Handmade Birthday Card Ideas For Girlfriend Beautiful Birthday Greeting Card Idea Diy Birthday Card Complete Tutorial. Handmade Birthday Card Ideas For Girlfriend Handmade Birthday Card

Idea For Making Birthday Cards Get Inspiration From 25 Of The Best Diy Birthday Cards. Idea For Making Birthday Cards Beautiful Handmade Birthday Card Idea
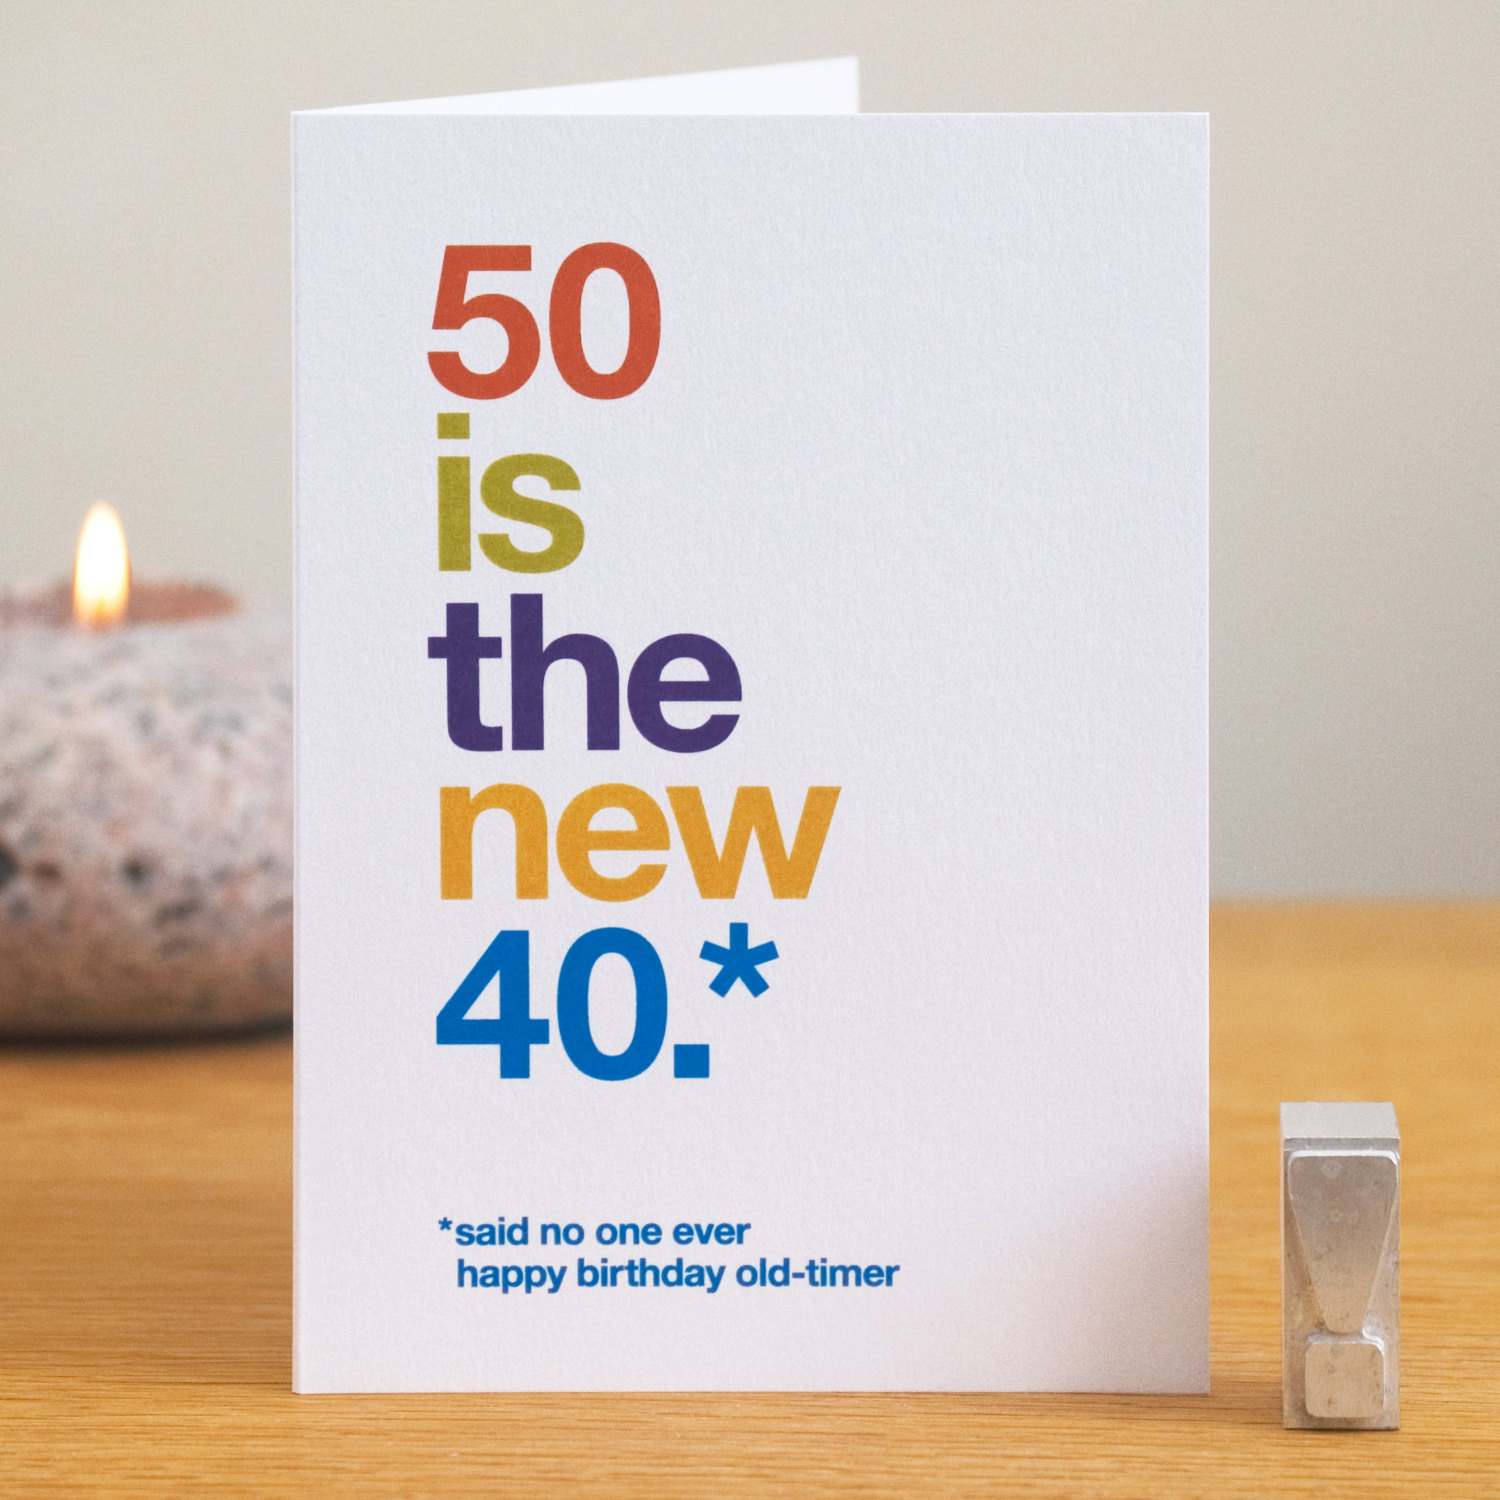
Ideas For 50Th Birthday Cards 92 Happy 50 Birthday Ecards Funny 50th Birthday Cards Happy. Ideas For 50Th Birthday Cards Fifty Birthday Card 50th Birthday
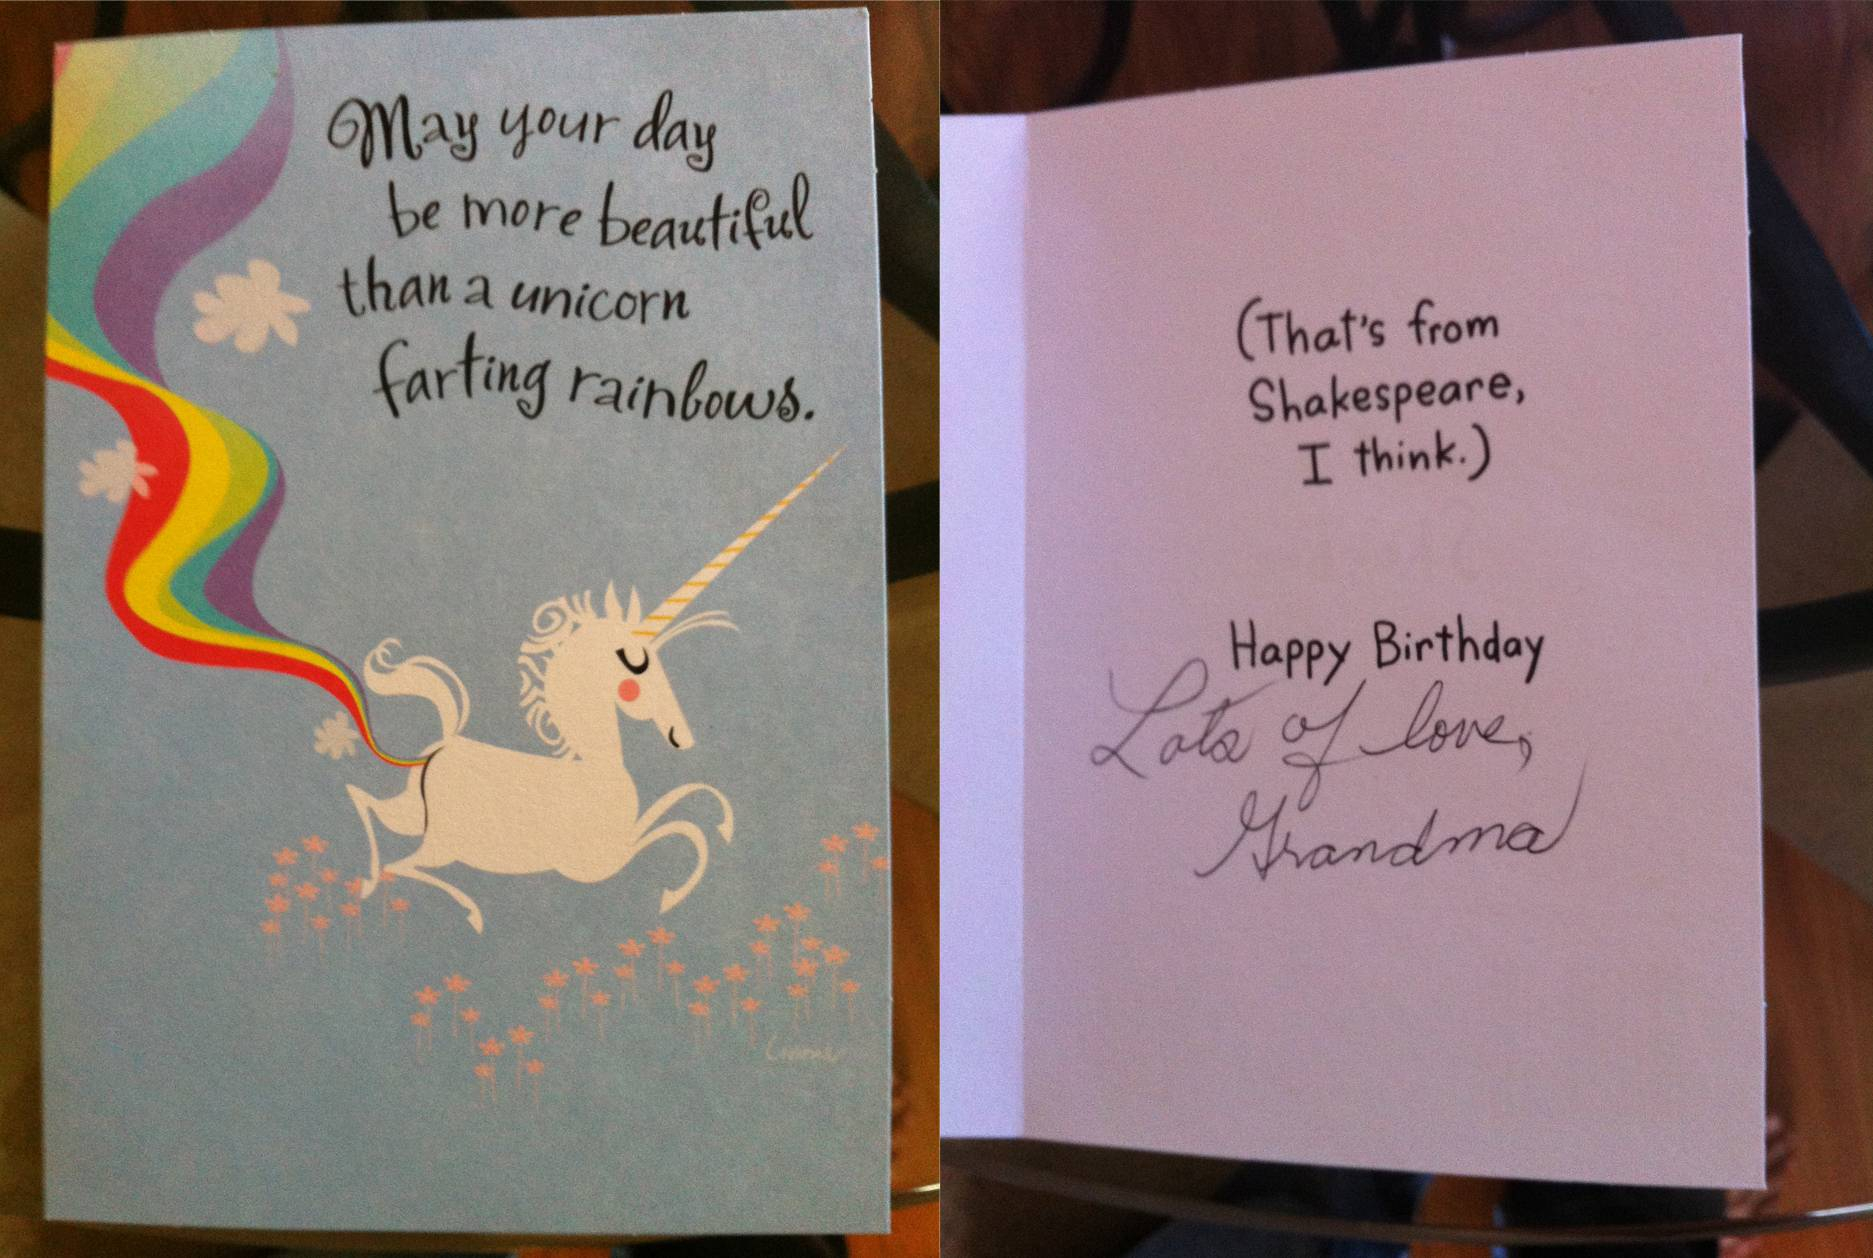
Birthday Cards For Grandma Ideas Drawing Birthday Card Ideas Best S Happy Birthday Homemade Card. Birthday Cards For Grandma Ideas 35 Most Beautiful Grandparents Day
Birthday Card Ideas For Wife 50 Funny Birthday Card Ideas Learn. Birthday Card Ideas For Wife Happy Birthday Card Woman Lovely Meme. Birthday Card Ideas
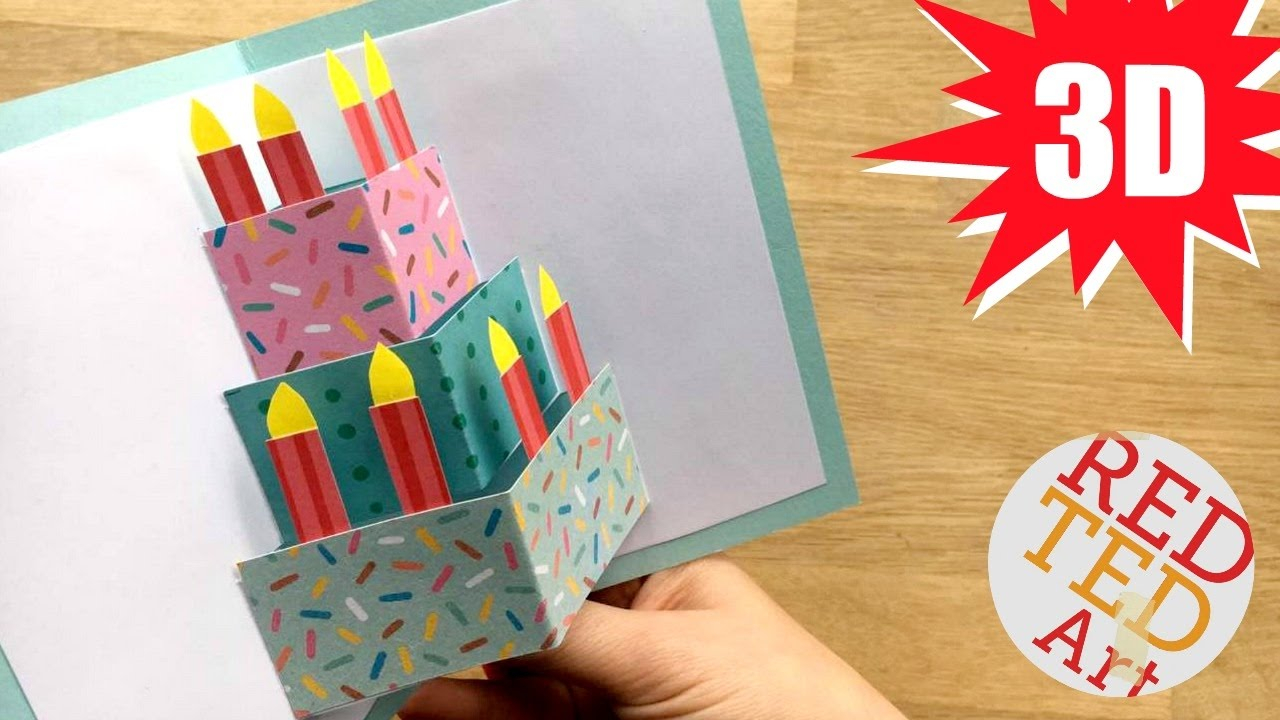
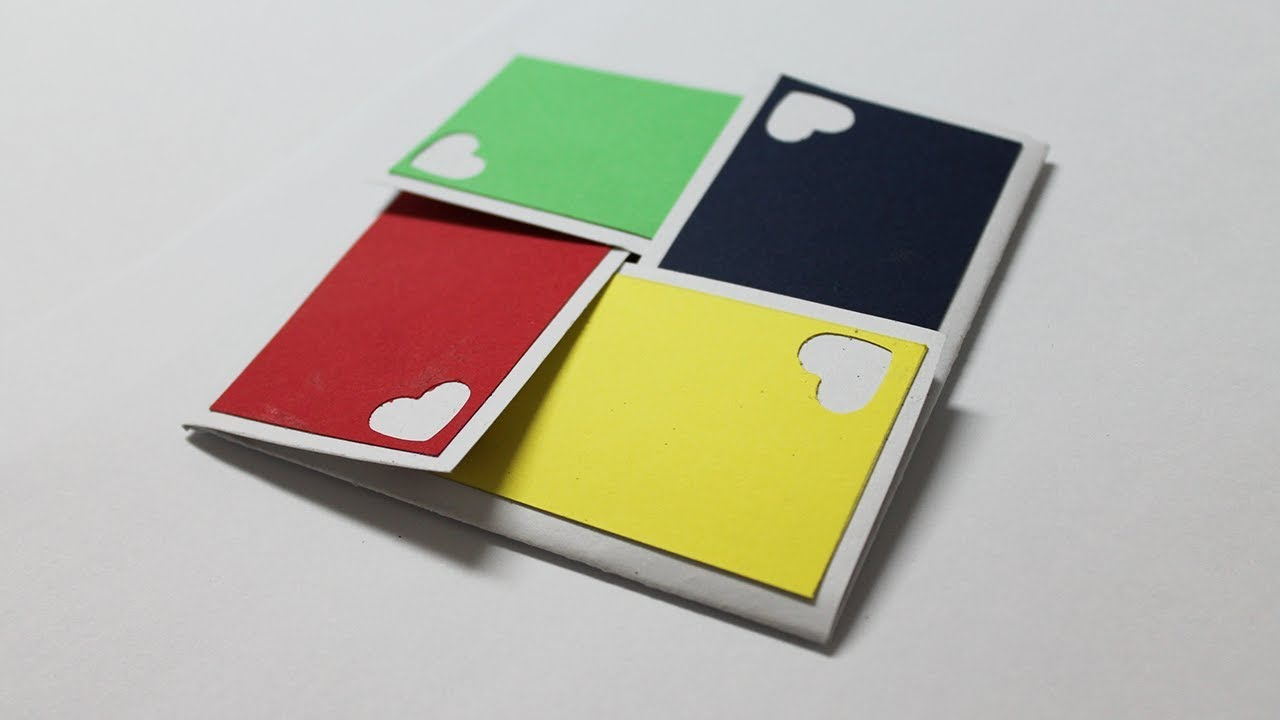
Card Ideas Birthday 10 Extraordinary Handmade Birthday Card Ideas The Smallest Step. Card Ideas Birthday How To Make Special Butterfly Birthday Card For Best Frienddiy
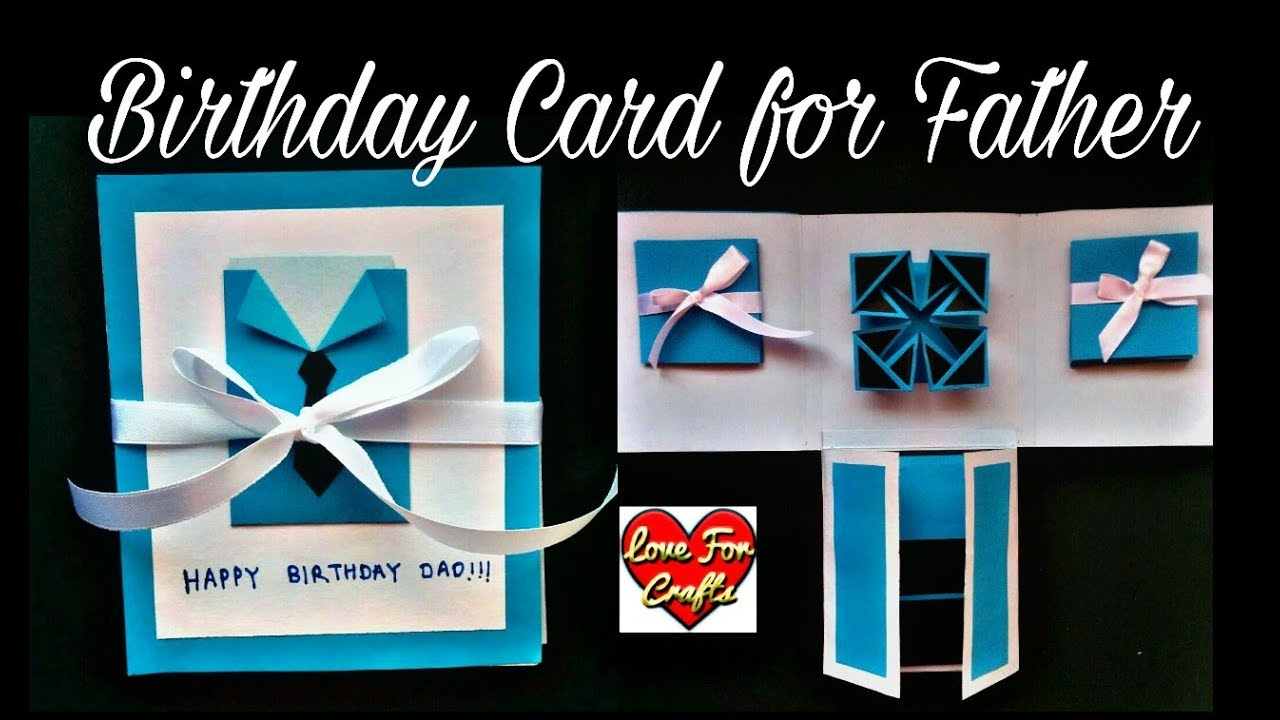
Ideas For Birthday Cards For Dads Handmade Birthday Card Ideas Inspiration For Everyone The 2019. Ideas For Birthday Cards For Dads Father Birthday Card Ideas
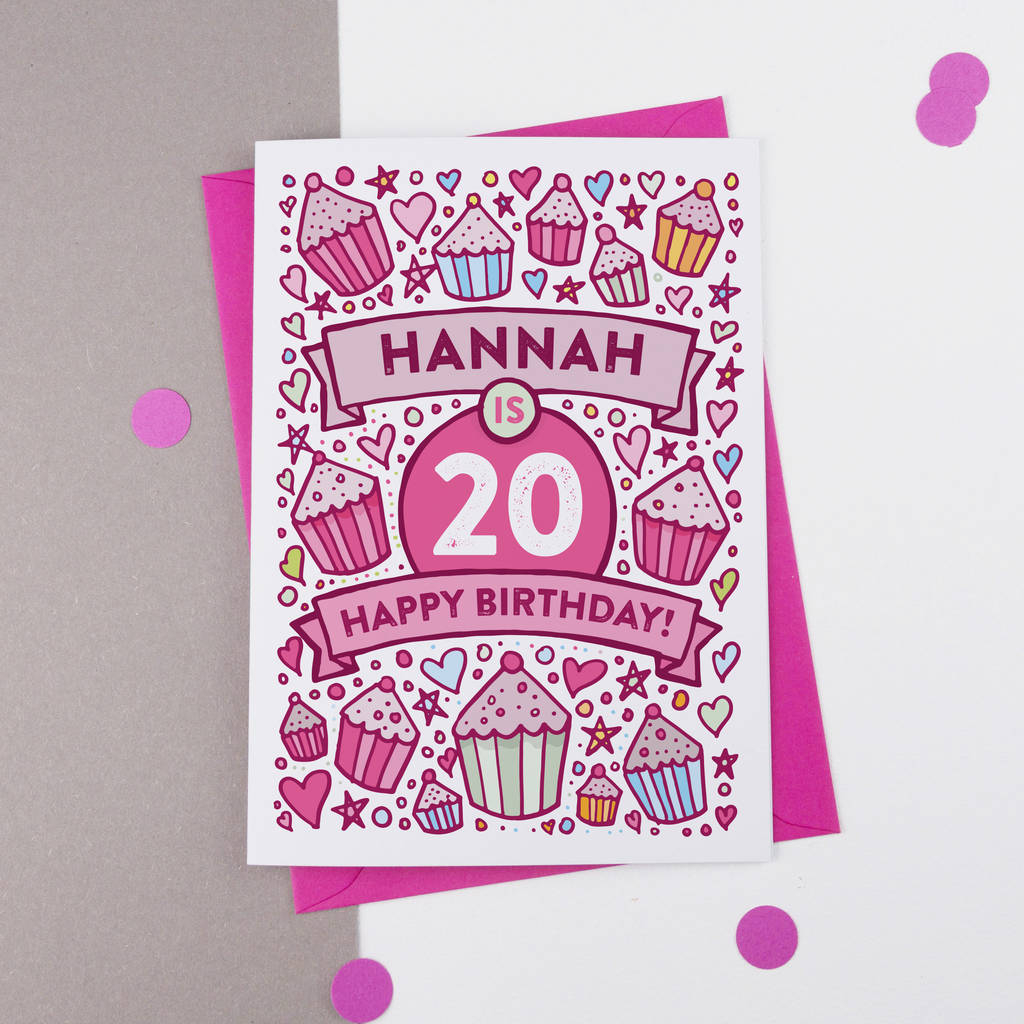
20Th Birthday Card Ideas Get Inspiration From 25 Of The Best Diy Birthday Cards. 20Th Birthday Card Ideas Birthday Card Messages Sayings And Wishes Page
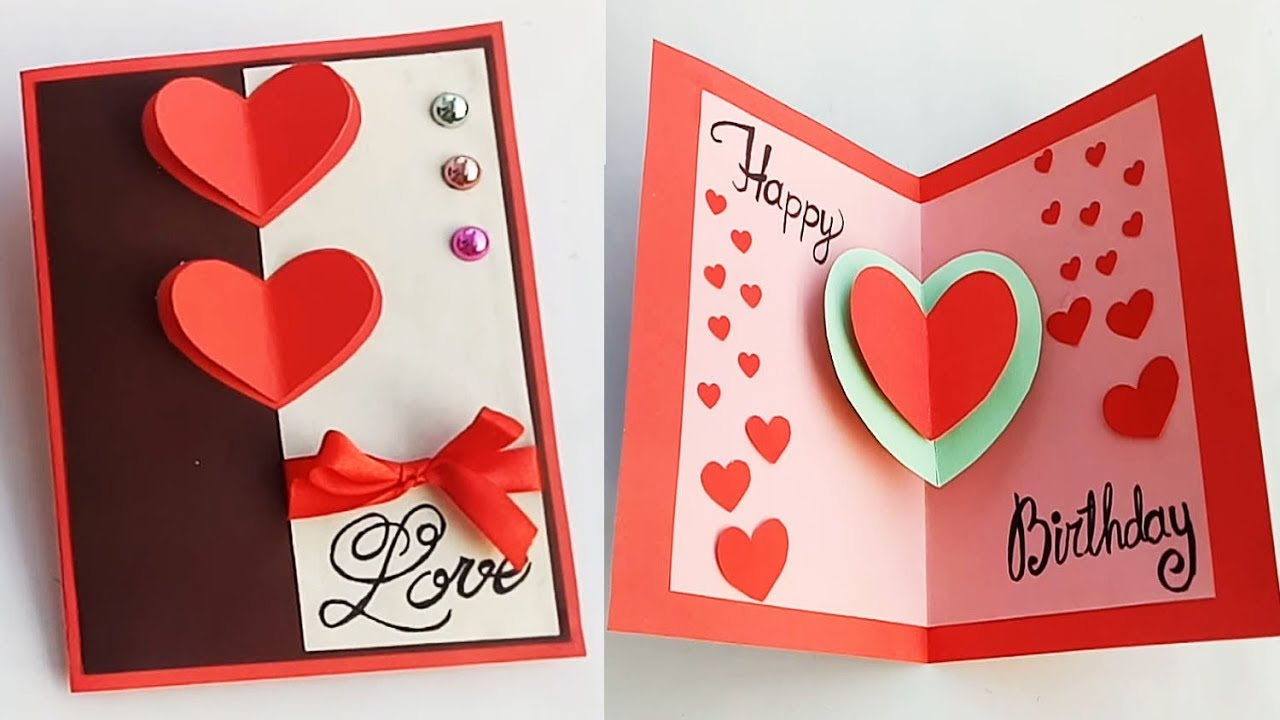
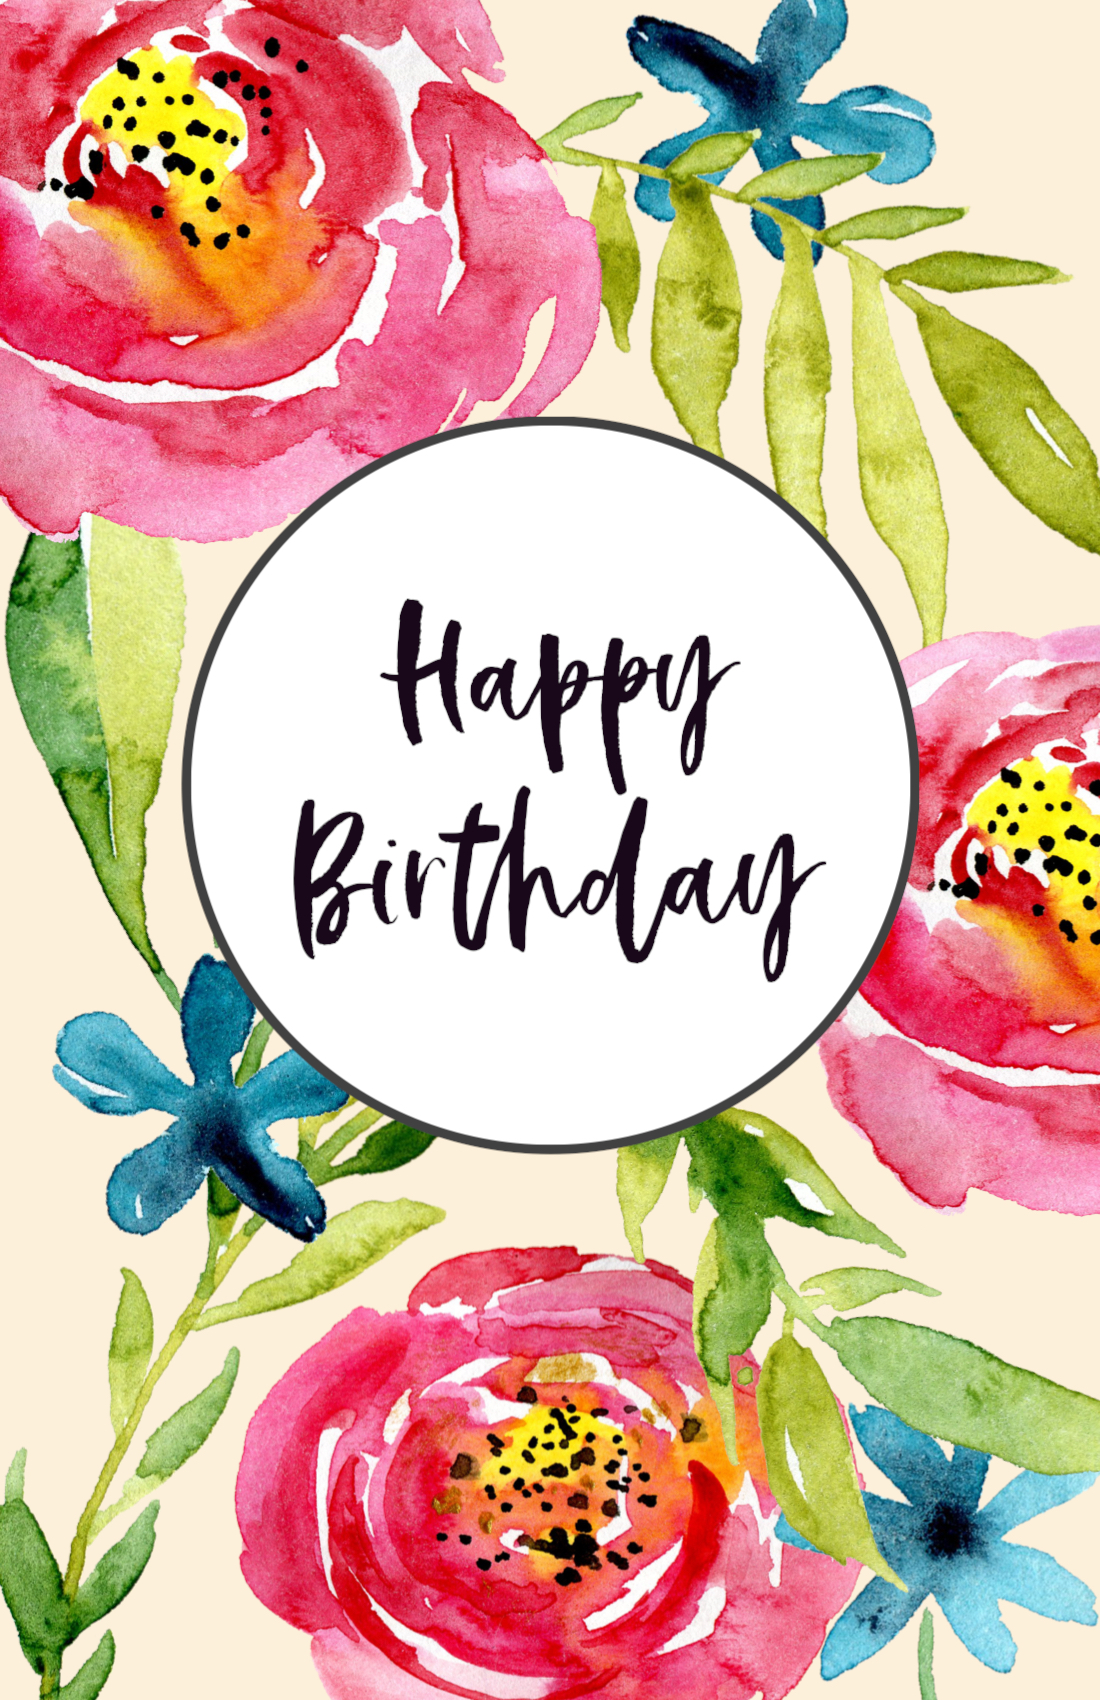
Birthday Card For Girlfriend Ideas 96 Birthday Cards For Girlfriend Handmade A Creative Cool. Birthday Card For Girlfriend Ideas Funny Birthday Card Ideas For Boyfriend